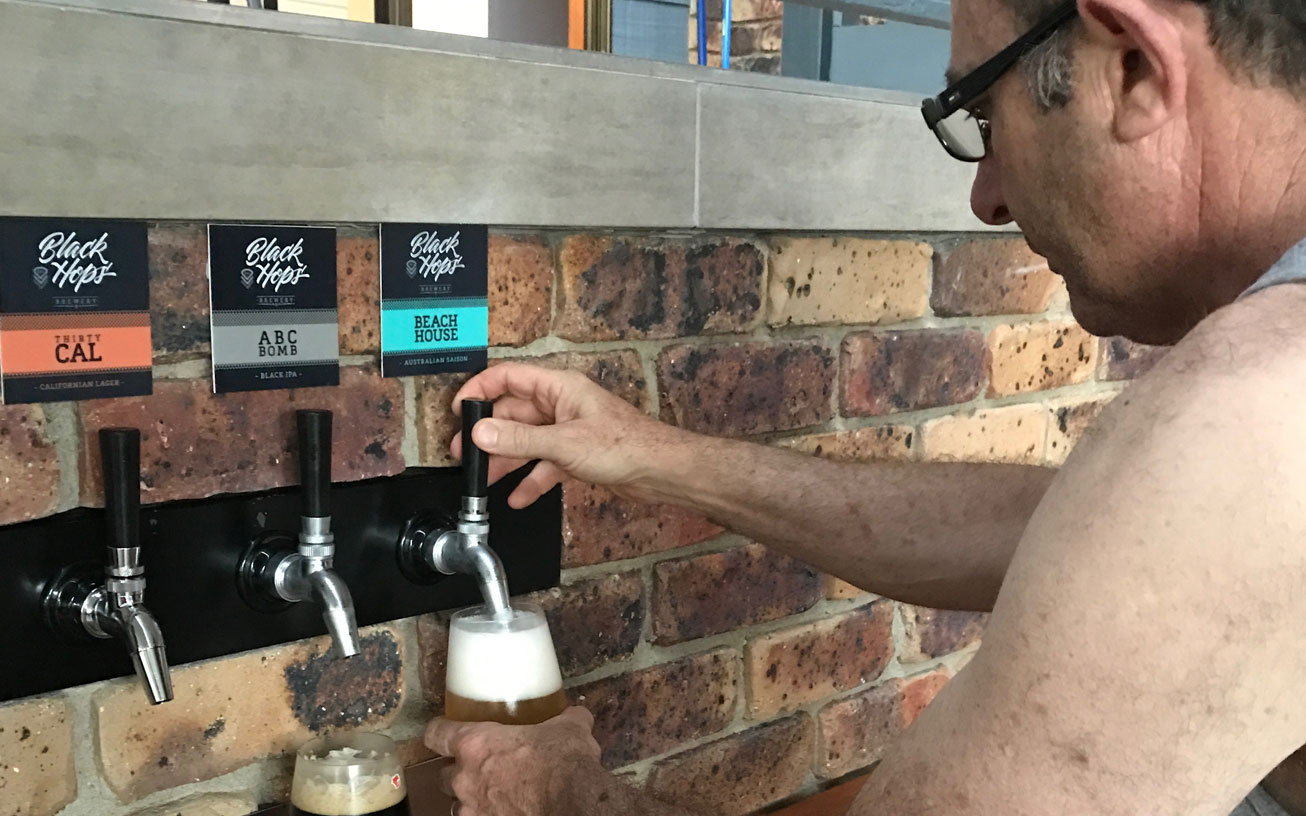
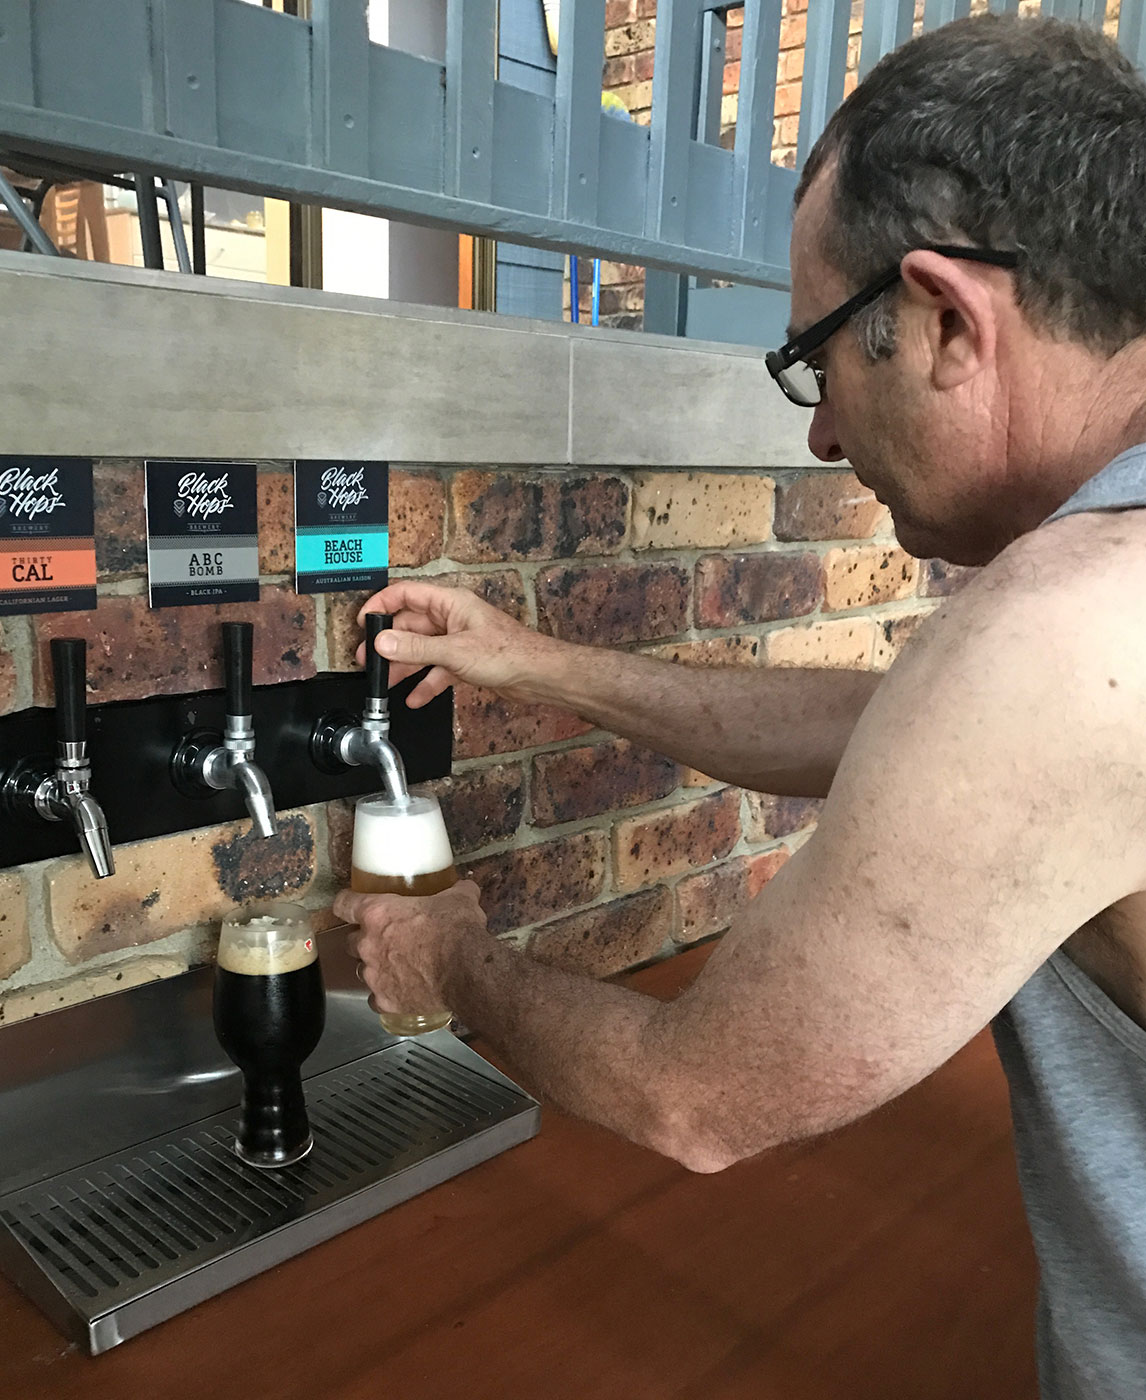
We all know every man’s dream is to have cold fresh beer on tap in the comfort of his castle. Well some of us dream and some of us do. That’s what we love about Eddie’s dad Martin, he’s a doer. Just check out the Black Hops Taproom, he built the whole thing with his bare hands – and then built the lab, and the bathroom, and the menu board, and the iPad holder…. you get the picture.
Just when we thought he was packing up his tools, he’s back with this – an extremely boss home beer tap system for him to enjoy the beer he helped make a reality. And what’s more, he even wrote it all down for us to share on the blog.
So, if you are a doer like Martin, and you want beer on tap at home, we’ve gone into as much detail as possible, to help you turn your wildest dreams into reality.
Over to Martin.
*****
I wanted to put keg beer into our entertainment area, but the only logical place to put the fridge was under the back deck. That gave me the opportunity to look for a more elegant solution, so I built in a manifold system to transfer the beer from the fridge to the taps.
The back deck is only 1,500mm high so that ruled out using a chest freezer type solution to store the kegs. There are very few fridges the right size to hold 3 corney kegs, and I had decided that if I was going to go to the trouble of building a manifold system there was no point just going for 1 or even 2 taps so as a minimum it had to hold 3 kegs. In the end, I bought a KegKing 3 tap kegerator. It was the right size, had a beefed up compressor to cope with the Ipswich summer heat, and I didn’t have to run the gauntlet of cutting holes in a fridge and finding coils and/or wiring.
The challenge then was reduced to building a manifold system to attach to the kegerator fridge. I did this using scraps I had in my workshop and stuff I could buy from Bunnings.
Sizing the manifold
The manifold was made 500mm long because that is the length of the 2 bricks I had to take out of the wall, and it was 100mm high because that is how high a brick plus mortar is. I wanted the option of replacing the bricks in the future should I decide to remove the taps (can’t think of any reason why I would want to do that other than if I move), so didn’t want to cut the bricks.
Tap spacing
I put the taps 150mm apart so that I could use a standard 400mm drip tray.
Manifold depth
I made the manifold 200mm deep so that it protruded past the timber bearer behind the brickwork.
Constructing the manifold
I had some powder coated aluminium channel used for patios 100mm x 40mm and this became the frame for the manifold. I put in pilot holes for the 100mm long shank tap adapters. I needed to insulate the manifold, and ensure that the cold air from the fridge was circulating the full length of the beer lines. Hence I wanted to keep the actual space for lines and cooling air as small as possible to make the system as efficient as possible. I had a few pieces of 50mm thick Styrofoam sheet I had saved for years waiting for a useful repurpose, and this was their day.
So the basic frame looked like this:
Connecting the manifold to the fridge
Having sorted this out, the next challenge was how to connect the manifold to the fridge. I wanted a flexible connection to the fridge, and the connection had to be insulated. So I stood in the plumbing aisle of Bunnings until I found the perfect solution. I bought a 40mm flexible connection for wastes – this has a screw connection at one end to connect to the waste or a threaded pipe, and at the other end, has a compression fitting to connect to a piece of 40mm pipe (for reasons that will become obvious later). I bought a 40mm male and 40mm female fitting, and cut a locking ring off the female fitting, and put the male connector inside the manifold and locking it on the outside, leaving enough thread to screw the flexible waste connector to it. I slipped a short piece of 40mm pipe inside the foam and then put a 40mm joiner piece over that so that there was no polystyrene exposed inside the hole.
I bought a 40mm male and 40mm female fitting, and cut a locking ring off the female fitting, and put the male connector inside the manifold and locking it on the outside, leaving enough thread to screw the flexible waste connector to it. I slipped a short piece of 40mm pipe inside the foam and then put a 40mm joiner piece over that so that there was no polystyrene exposed inside the hole.
I bought a length of 38mm K Flex insulation and stretched that over the flexible waste. It is tight but with a bit of gentle persuasion it does fit, but take care not to tear it. This insulated pipe can then be screwed onto the exposed thread, and the insulation rolled right up to the manifold.
I didn’t want to have cold damp air permanently circulating direct onto the insulating foam, so I needed to seal the inside of the manifold. I looked for a suitable paint but could find nothing. I needed a plastic box about 300x100x50 that I could adapt to fit inside the insulation. So back to Bunnings and roamed every aisle until I got to the storage section and happened upon a parts tray like this one, only it was the 100mmx100mmx394mm version.
I cut it down to 100x50x300, and siliconed an end on it, fitted it inside the insulation and drilled holes to take the tap shanks and the 40mm joiner. I siliconed the joiner to the plastic tray as well. I made up a 25mm thick polystyrene lid and liquid nailed a piece of laminex to it as a lid so that the whole manifold was insulated all the way around. I screwed a piece of wire to the laminex so that I could pull the lid off at a later date if needs be. The laminex is on the inside to act as a waterproof layer.
Now it was time to put in the pipework and tap shanks. The shanks are a tight fit into the plastic box, and I removed the front piece, screwed the tap shanks in and then pressed them back into the box. I attached the beer pipes to the barbs and ran the pipe back down the flexible coupling. I bought a piece of 16mm clear vinyl tube from Bunnings to connect to the font fan to bring cold air into the box. I attached a poly tee piece to disperse the air within the box and screwed it down using a clip.
By now, the kegerator had arrived and I set about connecting the manifold to the fridge. The fridge has a hole in the top set up to screw a font tower to it. The hole is about 40mm diameter, and the flange holes suited a 110mm diameter fitting. So back to Bunnings to find something suitable. I settled on a 50mm sink waste. I discarded the stainless steel strainer part, cut out the star shaped connecting pieces and turned it upside down. The plastic flange is 110mm diameter and has a 50mm thread on it. As a bonus it comes with a rubber washer so that the flange can be sealed to the top of the fridge.
I drilled four holes to suit the fridge and screwed it down. I then bought a 50mm female thread and a 50mm to 40mm reducing bush to enable a short length of 40mm pipe to be attached to the assembly. The compression fitting of the flexible pipe simply pushes straight onto the 40mm pipe.
I stretched the insulating sleeve over this assembly, connected the flexible tube, rolled the insulation sleeve over the fitting and duct taped them together.
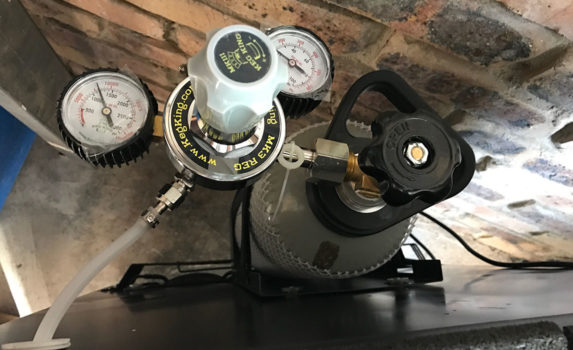
I mounted the gas cylinder on the back of the fridge using the standard fitting provided with the Kegerator.
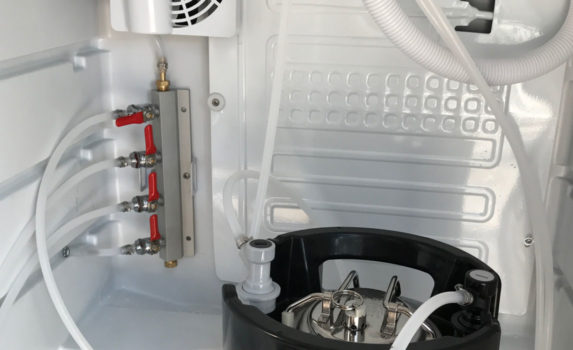
And put the 4-way gas splitter inside the fridge.
I connected the font fan to the vinyl tube. All I had to do then was put on the keg fittings and fit the taps.
Oh, and then I got some kegs of Black Hops to put in the fridge. And then enjoy it!!
We hope this post was useful, if you want to chat more about this setup, join the free Black Hops Ambassador group on Facebook. See you in there!


