In June 2016 we opened the doors to the Black Hops Brewery and Taproom in Burleigh Heads. It was the culmination of two years of blood, sweat and beers, which began with pilot brewing our original Eggnog Stout recipe. Everything leading up to that point was captured in our book Operation Brewery: How to build a brewery on a budget. But readers of the book might be wondering what happened after opening. When it comes to brewing equipment, quite a lot!
In this post, we’ll have a close look at what equipment we started out with, then delve into the equipment upgrades we’ve undertaken over the past 2 years.
Tweaking the original brewery startup equipment
Once we made the call to open our own brewery, it was time to get serious and start sourcing all of the equipment we’d need to brew our beer commercially.
After much research, we settled on China as the most cost-effective option for getting all of the big ticket brewing gear such as the tanks, vats and fermenters.
The founders went to China to organise and oversee our requirements with the equipment manufacturer, Tiantai in Jinan. We had many weird and wonderful adventures along the way, which you can read about in our book on starting up a brewery on a budget, Operation Brewery. But this post isn’t about Karaoke and overpriced watermelon, let’s get back to equipment.
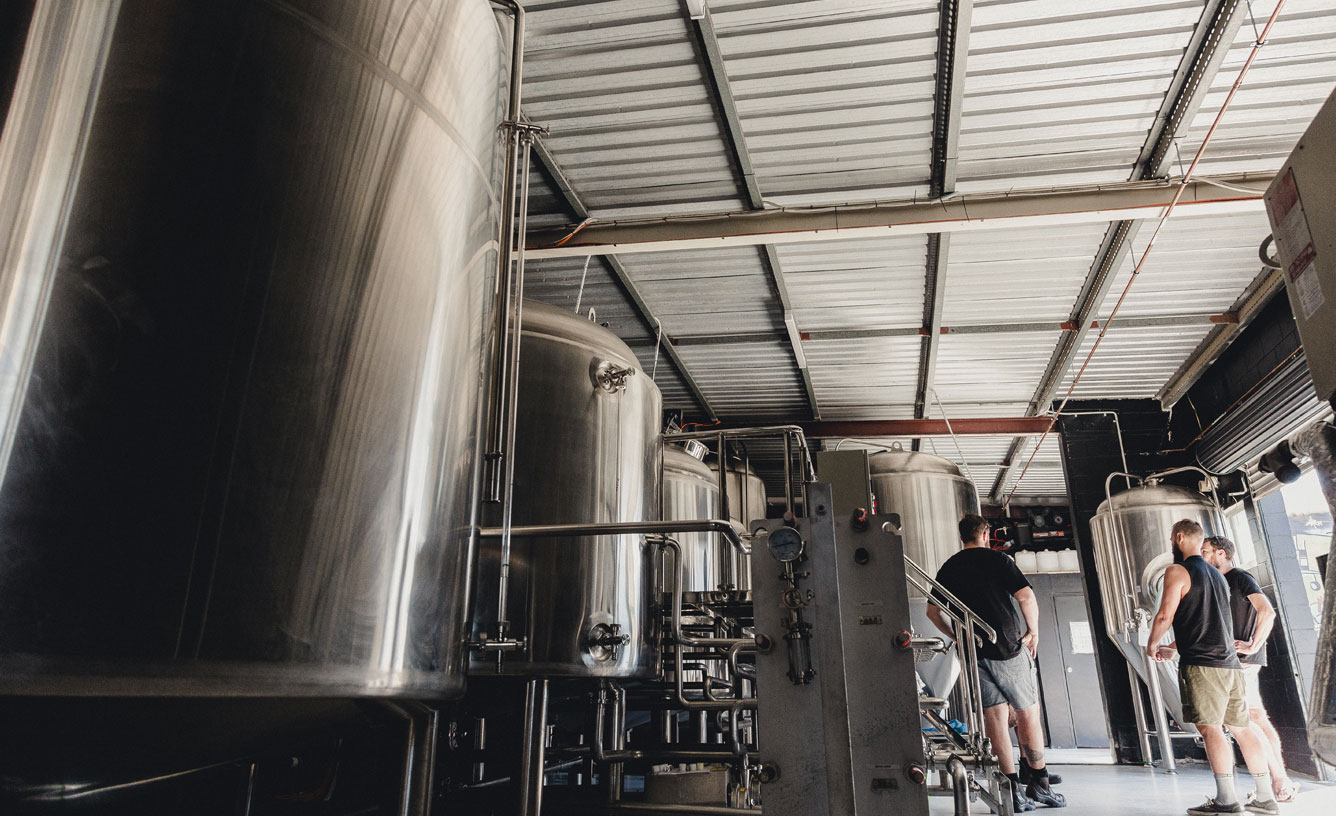
Here are the high level specs of the system we ordered:
- 20-HL Three-Vessel Brewhouse
- 40-HL Hot/Cold Liquor (HLT)
- Mash Tun (decoction capable) with steam and agitator
- Lauter Tun with sparge and rakes
- Kettle/Whirpool with steam and side outlet for clear wort production
- one x 40-HL, three x 20-HL and one x 10-HL Conical Fermenters (FVs)
- one x 40-HL Bright Beer Tank (BBT)
- 2 x 7hp Glycol Chillers
- one x PDL Bag Filter
- one x manual Double-station Keg Washer
- one x mobile pump for CIP and Transfer
When they arrived, all tanks were significantly oversized. The brewery was closer to 25 hec, and the largest tank closer to 50 hec.
We first contacted Tiantai in late 2014, amongst many other suppliers. Once we settled on them as our supplier, we spent the next six months making changes to the proposed system. Some of these decisions were made by Govs based on his experience and preference, some were made after speaking to their past customers. So what we got was a system customised to our specific needs.
Firstly, we removed almost all levels of automation from the system (PLC’s, control screen, pneumatically actuated valves). We replaced them with good old trusty manual butterfly valves and a switchboard of pathways to control the flow of liquid.
This decision was driven by cost, simplicity and control. Not relying on an automated system gives us the scope to fix potential issues in-house much quicker and most likely at a fraction of the cost. This is not a common thing for start up breweries to do. But Govs is pretty handy when it comes to diagnosing and actioning faults, so the simplicity of our manual system, was the best solution for us.
There was a whole bunch of other stuff that got covered off. Here are the tweaks that Govs rated as the most important:
- We added a side port to the kettle in addition to the bottom centre drain. They now have two ports at the bottom of the kettle/whirlpool tun. One is in the centre for drainage, the other is on the side of the kettle for removing the wort.
- We made sure that they provided an upgraded carbonation stone for BBT to be easier to clean in place. This is now standard for Tiantai orders.
- We specifically requested they increase the size of the heat exchanger from 12 m2 to 20 m2 for more efficient wort chilling. It’s big for what we need, but bigger is better!
- We confirmed that they had increased the size of the stainless from 2 mm to 3 mm. This is now standard with all interior shells at 3 mm (one gauge) and exterior shells at 2 mm (14 gauge).
- We added rotating racking arms to the FVs instead of stand pipes. This is now standard. The racking arm in the cone is rotating.
- We added steam to the mash tun for decoction mashing.
- We added a square manway to the lauter tun instead of a round one. A square manway for spent grain out is now standard.
- We requested that the hot liquor tank have a fin or offset pipe to prevent whirlpooling.
Upgrades to the startup brewing system
Since we opened the doors to the brewery on 18 June 2016, we’ve been very happy with the performance of our brewing equipment.
It’s certainly not been without hiccups along the way, but because of the simplicity of the system we have not been out of action for more than a few hours when the odd issue has arisen.
That being said, we’re always open to improvements, so we have made a few enhancements to our original start-up system since then.
Here’s Govs’ top 3:
- We now have spunding valves on each fermenter for better fermentation and carbonation control.
- We upgraded our keg washer to a semi-auto unit. The manual one we started with was great but relied heavily on the operator to ensure correct operation. While Govs was doing all the work that was fine. But now that we have 4 brewers, automating the process was a no brainer and it also now requires less time to operate, allowing us to wash more kegs in less time.The model we have now is the Keg Commander, manufactured by American Brewing Equipment (ABE). To see this impressive piece of equipment in action, check out this video:
https://www.youtube.com/watch?v=Jq8h2iNSYwc
- We are now in the process of upgrading our hot and cold liquor tanks to increase volume, which will allow us to double brew every day. It will also make it easier for the brewers to manage water usage.
New equipment required when we expanded across the way
To begin with our Burleigh Heads brewery existed in a 230sqm building on one side of the block. Late last year we expanded and took over a 150sqm space on the other side.
Our starting brewery was a 20 hec brewery with 5 fermenters ranging from 1,000L to 4,000L and a 4,000L bright tank. Only one of our tanks was 4,000L which meant we could only double brew into one tank. Expanding next door meant we could add another 4 4,000L fermenters and an extra bright tank, thereby almost tripling our capacity.
Here’s what we got when we expanded across the way:
Additional production capacity for our brewhouse
- 4 x 50HL fermenters
- One x 50HL bright tank
New dedicated pilot system
- One x 2HL 2 vessel electric pilot system
- 3 x 4HL fermenters
- One x 4HL bright tank
New canning line
- One x 4 head inline canning machine with labeller and pack off table
- One x upgraded air compressor with oil filter and air dryer
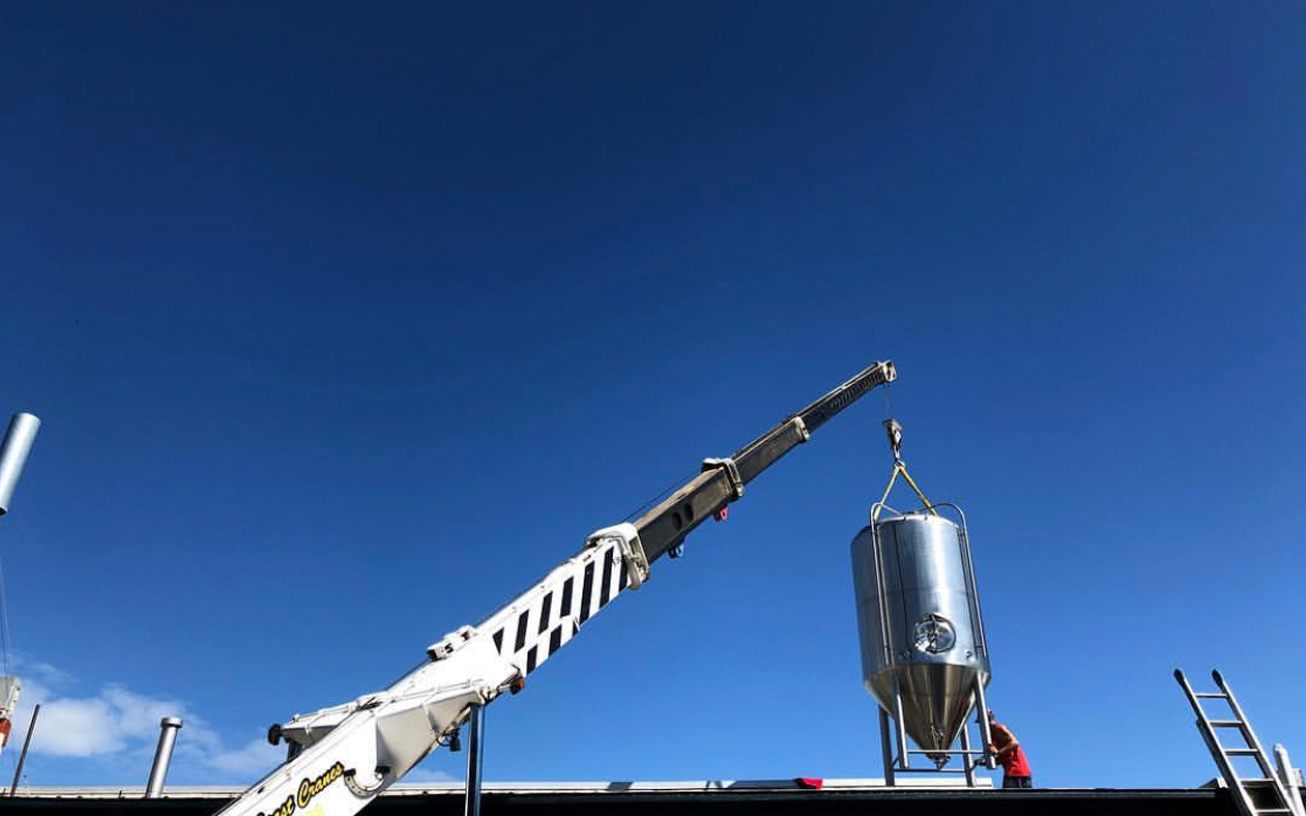
Once we were set up in the new factory space, we made the decision to move both the bright tanks across to the other side. This was because our canning machine was over there, and having both bright tanks nearby makes canning a lot easier. Even though our canning line is mobile, having the bright tanks next to each other enables us to easily can beer every day. The roof came off again, albeit very briefly.
Bottles vs Cans
When we started out, we bought a small manual 4 head bottling machine which enabled us to bottle beer on a very small scale. It was a cheap piece of equipment and meant we could sell bottles at the Taproom. However because it was such a manual process, it was a very inefficient and expensive way to produced packaged product. The plan was always to try to package on a bigger scale and cans were on our radar from day one.
Up until recently many people had the perception that beer in cans is somehow inferior. A lot of this can be put down to long-held stigmas and incorrect assumptions. You can read more about why we made the switch, and the advantages of beer in cans here.
Once we made the decision to move from bottles to cans, it was time to start looking for our own canning production line and set up. In the interim though, we engaged the services of Craft Punks mobile canning service.
Craft Punks were great, and helped us out a lot, but with the demand for our beer increasing rapidly, the volume and frequency of our canning requirements dictated that we’d need to step up and invest in our own canning production line.
Black Hops canning line/machine
We decided to buy an ABE CraftCan15 4 head inline filler/seamer. There was a bunch of criteria that needed to be met prior to purchase, namely:
- that it was within our budget
- it would fit within the space we had available
- proven low oxygen pick-up results
- could be expanded to grow with us
- had a good reputation amongst the industry with regards to consistent fills and reliable seams.
Our machine is rated at 15cpm, but after extensive use and dialing in our temperatures and pressures, we are consistently getting between 20 – 25cpm, which we can operate with 3 staff.
We also have a Tronics inline labeller to apply labels post fill/seam. We worked with our label supplier to get the right adhesive and backing paper to apply to cold/wet cans. The labeller can handle up to 60cpm.
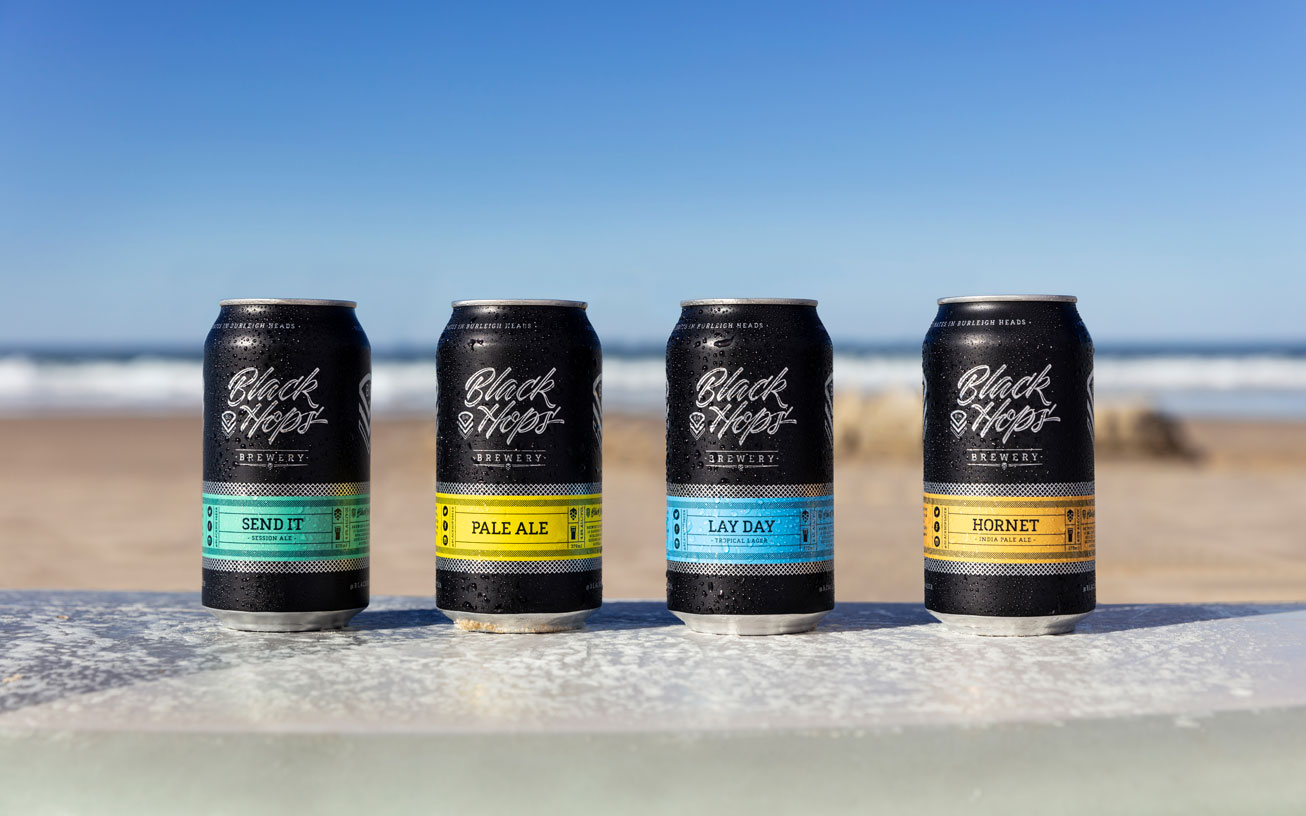
Before the upgrade we had our Pale Ale in cans and a small amount of Hornet. After the upgrade we are able to supply all of our bottle shop customers with Pale Ale, Hornet, Lay Day and Send It, as well as a monthly limited release.
Pilot System Upgrades
If you are looking to build a brewery, it’s a must to have some sort of system for brewing small pilot batches. Braumeister is a popular choice, and some breweries have 500-litre+ breweries on-site just for pilot brews.
We used our pilot system first to test the market with our original beer ideas, prior to establishing our full blown commercial set-up.
We use it now for collabs, limited release ‘recon series’ beers, festival beers and custom staff beers. Over the life of Black Hops we‘ve brewed over 70 different beers.
Pilot System One
When we first met up on Tamborine Mountain, Govs had recently put together his own small HERMS system made from three chopped-down kegs. It replicated the sort of setup you’d have at a full-scale brewery but with a capacity of about 40-litres.
It had one keg for hot water, another as the mash tun that we filled with grain for the brew, and another as the kettle with a small gas burner underneath. It wasn’t the sexiest setup, but we brewed most of our original pilot brews on this system including the first Eggnog Stout, ABC Bomb Black IPA and early versions of our Beach House Ale, with excellent results. That pilot system is now the pilot system used by our mates at Currumbin Valley brewing.
Pilot System 2
Once we started setting up the brewery, we had our friends Debz and Moog generously make us up a 100-litre pilot system. This enabled us to brew a full 50-litre keg pretty efficiently. It also meant we could brew up to 100-litres at a time if we wanted to brew a commercial keg on the setup. We brewed some fun beers on that one as well including an 11% IPA and a Bacon Sandwich IPA.
Pilot System 3: what we have now
When we expanded our brewing capacity we also designed and ordered a new dedicated 200L stainless 2-vessel electric pilot system. This upgrade let us increase our small batch brewing ability and also allowed us to brew more consistently.
This system also features a 4 x 400L glycol-jacketed conical fermenters and one x 400L bright tank, which gives us the ability to easily put out some really interesting and limited brews on a regular basis. We also have the capability to connect this pilot system bright tank up to our canning line and package these beers, which is a great weapon in our arsenal.
Our latest pilot system enabled us to release our ‘Recon Series’ limited release beers concept and allows us to do collaboration and staff anniversary beers regularly. Some of these have already made it into our limited release range and into bottle shops after doing particularly well as a Recon Series release.
Where to from here?
We hope that equipment summary has been useful, since the beginning we’ve enjoyed sharing detailed breakdowns on what we are doing in an effort to help others learn and come on the journey with us. As you may already know, we’ll be opening a second brewery, on the Northern end of the Gold Coast, in 2019. There’s a lot of things to do in the lead-up, including getting a whole new bunch of equipment to fit it out, which we’ll go into in another article on the blog soon.
If you have any questions, feel free to ask in the comments, or follow the journey more closely on our social media channels:


